

Design first playbook for collectors building a built in humidor. Builder ready specs, commissioning, monitoring, plus an annotated case.
Every successful built-in or walk-in humidor rests on three non-negotiables: a sealed vapor barrier with proper insulation, active humidification paired with planned airflow, and dedicated temperature control. Target 65 to 70% relative humidity and a temperature band of roughly 64 to 68°F for long-term aging. Get those three right, and everything else, shelving, lighting, monitoring, is refinement, not rescue.
TL;DR:
- Active humidification systems are essential for maintaining stable conditions in larger walk-in humidors, as passive options cannot sustain consistent humidity levels.
- Proper siting on interior walls with insulation, sealed vapor barriers, and a room volume optimized for efficient conditioning minimize temperature swings and condensation risks.
- Using Spanish cedar and moisture-rated drywall with stainless steel fasteners ensures longevity and humidity stability within the sealed environment.
- Correct placement of sensors, ventilation, and careful planning of electrical, plumbing, and door sealing are critical for effective climate control and security.
- Regular maintenance, calibration, and monitoring over multiple seasons prevent microclimates, mold, and beetle infestations, ensuring long-term cigar preservation.
Table of Contents
- Planning Your Built-In Humidor Installation: Siting and Layout
- Materials and Build: Vapor Barriers, Insulation, and Spanish Cedar
- Humidification and Cooling: Making the Two Systems Work Together
- What Electrical, Plumbing, and Code Items Need Attention Before Closing Walls?
- Shelving and Storage Layout: Designing for Boxes and Singles
- Commissioning and Monitoring: Validating the Build Before You Trust It
- How a Bespoke Walk-In Comes Together: A Design Case
- Costs, Timeline, and Ongoing Maintenance
- Lighting Design Considerations That Minimize Heat and UV Exposure
- Security and Access Control for High-Value Collections
- Door and Sealing Technology for an Airtight Environment
- Integrating Home Automation and Remote Monitoring
- Maintenance and Cleaning Protocols to Preserve Your Investment
- What Experienced Collectors Get Wrong
- Bring Your Vision to Dunn’s Bespoke
- Resources for Planning Your Build
- Sources
- FAQ
Planning Your Built-In Humidor Installation: Siting and Layout
Where you put the room matters more than what you put in it. An interior wall location reduces the temperature swings and condensation risk that plague exterior-wall builds, since exterior walls transfer outdoor heat and cold directly into your conditioned space unless you over-insulate to compensate, according to Cigar Journal’s build guide. Keep ceiling height at or below 10 feet. Extra vertical volume means more air to condition and more room for heat to stratify near the top, a detail Sonic Humidifiers flags as a common oversight in first-time builds.
Layout basics that hold up over years of use:
- Double-row shelving needs a minimum 30 to 36 inch aisle width for comfortable access and airflow.
- Every additional cubic foot of conditioned space raises your humidification and cooling load, so design for the smallest effective footprint, not the biggest impressive one.
- A vestibule or airlock entry, paired with an insulated door and compression threshold seals, limits the air exchange that happens every time someone walks in.
- Door swing direction and shelving depth should be finalized before rough-in, since HVAC and humidifier placement depend on final room geometry.
Pro Tip: Sketch your shelving layout on graph paper before calling an HVAC contractor. Room volume, not square footage, is what determines humidifier and cooling capacity, and most contractors will ask for it on day one.
Materials and Build: Vapor Barriers, Insulation, and Spanish Cedar
The vapor barrier goes on the warm side of the insulation, sealed at every seam and penetration, before any interior finish goes up. Skimp here and you’ll fight condensation inside the wall cavity for the life of the room. Closed-cell spray foam or rigid foam board both outperform standard Matt insulation for humidity stability, because they resist moisture absorption that would otherwise wick through the wall assembly.
For the interior lining, Spanish cedar remains the standard for good reason. It moderates humidity swings, resists odor transfer between blends, and has done so in cigar storage for generations, per the Wood Database’s material profile. But raw cedar planking needs to acclimate at your target humidity for 48 to 72 hours before final installation, or it will expand after the room is sealed and warp your panels.
Substrate and hardware notes:
- Moisture-rated drywall (often called greenboard) works for walls that won’t see direct cedar contact; plywood backing is preferable behind shelving and hardware anchor points.
- Use stainless steel or coated brass fasteners exclusively. Standard steel screws and hinges will rust and stain cedar within a single humid season.
- Choose low-VOC, moisture-cured adhesives rated for high-humidity environments to avoid off-gassing that lingers in a sealed room.
Humidification and Cooling: Making the Two Systems Work Together
Passive humidification, gel packs, foam inserts, propylene glycol solutions, simply cannot maintain stable conditions across room-sized volumes. A walk-in demands active humidification systems engineered for the space and coordinated tightly with your cooling equipment, according to Tobacconist University’s build guidance.
Getting placement and plumbing right:
- Position the humidifier to distribute moisture along the room’s long axis rather than blasting one corner, and use baffles or diffusers to prevent direct airflow onto stored cigars, a strategy Cigar Journal recommends for avoiding localized over-humidification.
- Feed the system with reverse osmosis water. RO eliminates the mineral “white dust” that ultrasonic humidifiers deposit on cigars and cabinet surfaces over time, per Filter United’s analysis.
- Decide between manual-fill reservoirs and plumbed RO lines early. High-use and commercial installations benefit from a dedicated RO line, since it removes the maintenance burden of manual refills entirely.
- Choose your cooling source: a mini-split system, a wine-cellar compressor unit, or dedicated A/C, based on room size and heat load, then plan condensate drainage before the walls close.
Pro Tip: Controlled ventilation, small adjustable vents rather than a fully hermetic box, often outperforms a sealed room. It lets your HVAC exhaust excess heat while the humidifier replaces moisture, avoiding the fight between two systems working against each other.
What Electrical, Plumbing, and Code Items Need Attention Before Closing Walls?
Before drywall or cedar paneling goes up, confirm every trade has finished its rough-in work. Dedicated circuits for humidifiers, controllers, and circulation fans prevent nuisance trips and let you add surge protection where it counts.
- Route RO plumbing using rated plastic tubing, with backflow prevention at the supply connection.
- Plan condensate drain lines from cooling equipment to a floor drain or condensate pump, positioned before flooring goes in.
- Loop in your electrician and plumber during framing, not after, and confirm whether your municipality requires permits or inspections for the HVAC and electrical work.
- Label every shutoff and breaker clearly. Future maintenance will thank you.
Shelving and Storage Layout: Designing for Boxes and Singles
Shelf spacing should account for box height (typically 7 to 9 inches of clearance for standard cigar boxes) and separate zones for loose singles that need shallower, more accessible drawers.
- Use ventilated or slatted shelving rather than solid panels, since open backs let conditioned air circulate behind stored boxes instead of pooling in dead zones.
- Leave at least 2 inches of clearance behind shelving units for airflow to reach the wall side of the room.
- Pre-finish and acclimate all shelf lumber at target humidity before installation, matching the same 48 to 72 hour window used for cedar paneling.
- Position shelving so it doesn’t block the humidifier’s air path or obstruct sensor placement near mid-height.
Commissioning and Monitoring: Validating the Build Before You Trust It
Seasoning comes first. Acclimate all wood, shelving, and cabinetry components at your target relative humidity for 48 to 72 hours before final installation, a step Tobacconist University treats as essential to avoiding post-installation warping.
Once the room is sealed and running, validate it properly:
- Install multiple calibrated hygrometers at mid-height, near the ceiling, near the floor, and close to the HVAC or humidifier outlet.
- Log readings across several days and through at least one seasonal transition to catch diurnal swings and microclimates before they become chronic problems.
- Set variance targets appropriate to the space. Larger walk-ins tolerate ±3 to 5% RH swings, while precision cabinets should hold closer to ±1 to 2%, according to Tobacconist University’s monitoring guidance.
- If you find stratification, persistent pockets, or condensation near an exterior wall, add a zone fan, relocate the humidifier, or install ventilated shelving with a thermal break at the trouble spot.
How a Bespoke Walk-In Comes Together: A Design Case
A recent bespoke walk-in humidor project illustrates the process end to end. The client wanted an interior-wall installation adjacent to a home office, with double-row shelving for both boxed inventory and a rotating selection of singles.
The brief called for pre-wall coordination on electrical circuits, a plumbed RO feed, and humidifier placement along the room’s long axis, exactly the sequence that prevents the rework collectors dread most.
Multi-point sensors went in at three heights before final commissioning, and one shelving run near a shared exterior corner got a ventilated redesign after early monitoring flagged a temperature dip.
Pro Tip: If any wall of your planned room touches the exterior envelope, measure that wall’s surface temperature at expected winter lows before finalizing shelving placement against it.
Costs, Timeline, and Ongoing Maintenance
Budgets vary widely by scope. A closet conversion with a compact cooling unit and basic cedar lining often lands at the low end of custom builds. Bespoke built-in cabinetry with zoned humidification and finish carpentry sits in the mid range, while a full walk-in with dedicated HVAC, RO plumbing, and multi-point monitoring represents the top tier of investment, driven mainly by mechanical systems and finish quality rather than square footage alone.
- Design and permitting typically run several weeks, depending on your municipality.
- Rough-in for electrical, plumbing, and HVAC follows, then lining, shelving, and finish work.
- Commissioning and seasoning add the final 48 to 72 hour acclimation window before you load inventory.
Ongoing maintenance is lighter than the build suggests: swap RO filters on a schedule, service the humidifier annually, calibrate hygrometers each season, and walk the room after major weather shifts. The upfront engineering costs more than a passive setup, but it dramatically reduces the maintenance burden for the life of the room.
Lighting Design Considerations That Minimize Heat and UV Exposure
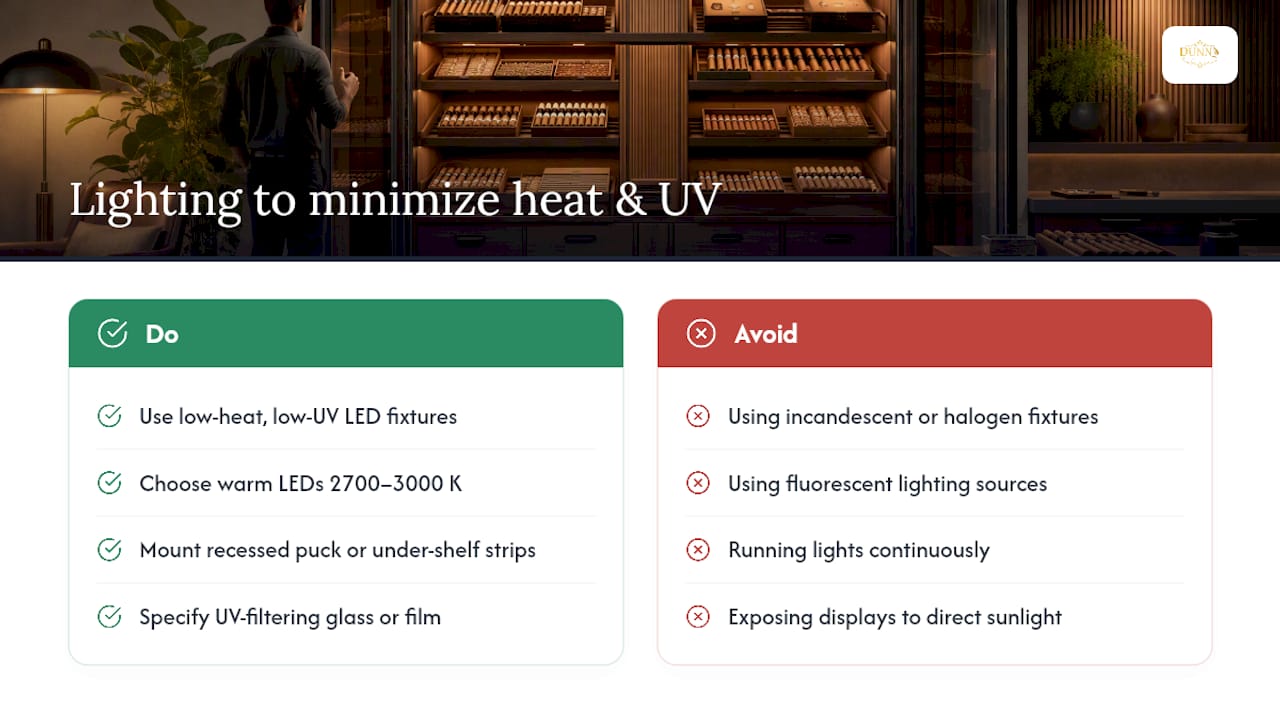
Lighting inside a humidor room is where beauty and preservation can quietly work against each other. Standard incandescent and halogen fixtures throw off heat that disrupts your temperature band, and both incandescent and fluorescent sources emit UV wavelengths that fade cigar wrappers and dry out oils over years of exposure.
LED fixtures rated for low heat output solve most of this. Look for fixtures with low UV emission and a color temperature in the warm range, around 2700 to 3000 Kelvin, which flatters cedar tones without the harsh blue cast of cooler LEDs. Recessed LED puck lights or linear LED strips mounted along shelf undersides work well because they sit close to the surface without radiating heat into the room’s air mass.
Keep fixtures on a separate switch or timer from your monitoring equipment, and avoid running lights continuously. Cigars stored under constant illumination, even low-heat LED, show more wrapper fading over time than those kept mostly dark with lighting on demand.
If your design calls for glass display panels or a viewing window, specify UV-filtering glass or laminate. Direct sunlight through an unfiltered window is one of the fastest ways to damage a collection, since it introduces both heat and UV in one uncontrolled dose. Position any glass features away from direct sun exposure, or add UV film if repositioning isn’t possible.
For collectors integrating a viewing element into a home bar or lounge area, coordinate lighting design with your finish carpenter early. Recessed lighting channels need to be planned before cedar paneling goes up, not retrofitted afterward.
Security and Access Control for High-Value Collections
A built-in humidor holding a serious collection is, functionally, a small vault, and it should be secured like one. Start with the door itself: a commercial-grade deadbolt or an electronic keypad lock gives you controlled access without relying on a single physical key that can be lost or copied.
For larger walk-ins, consider a layered approach. An electronic lock on the vestibule door, paired with a secondary lock on interior cabinetry holding your rarest boxes, limits exposure even if outer access is compromised. Biometric locks have become more affordable and reliable in recent years, and they remove the key-management problem entirely for collectors who want single-person access control.
Alarm integration matters as much as the lock itself. A door contact sensor tied into a home security system alerts you to any unauthorized entry, while a discreet camera covering the entryway adds a documented record without disrupting the room’s aesthetic. For collections with significant insured value, some insurers offer better terms when a monitored security system is in place, so check with your carrier before finalizing your security plan.
Don’t overlook environmental alarms alongside security ones. A sensor that flags a humidity or temperature excursion functions as a second layer of protection, catching equipment failure before it becomes collection damage. Pairing access control with environmental monitoring means you’re protecting the collection from both theft and neglect with the same integrated system.
Door and Sealing Technology for an Airtight Environment
The door is the single largest source of uncontrolled air exchange in any built-in or walk-in humidor, which makes its construction worth as much attention as the walls around it. A solid-core insulated door outperforms hollow-core options by a wide margin, since it resists both thermal transfer and the flex that lets air slip past seals over time.
Compression seals along the door’s full perimeter, similar to those used on commercial refrigeration doors, create a tighter barrier than standard weatherstripping. Pair that with a threshold sweep or drop seal at the bottom, the gap most builds overlook until they notice humidity bleeding out under the door during winter months.
Magnetic door seals, common in wine cellar construction, offer another option worth considering for walk-in installations. They self-align on closing and maintain consistent pressure across the seal’s length, which matters more than it sounds once a door has swung open and shut a few thousand times.
Double-door vestibule entries, essentially an airlock, offer the best air-exchange control of any design, since anyone entering closes one door before opening the next. This adds cost and floor space, but for collections in the ultra-luxury tier, it eliminates the humidity dip that happens every single time a standard door swings open.
Whatever door style you choose, test the seal after installation with a simple smoke pencil or incense stick along the perimeter. Any visible air movement at the frame means the seal needs adjustment before you trust the room with inventory.
Integrating Home Automation and Remote Monitoring
Modern humidity and temperature controllers increasingly support Wi-Fi connectivity, which means you can check your humidor’s conditions from your phone whether you’re down the hall or across the country. This matters more than it might seem: a failed humidifier or a stuck damper caught within hours does far less damage than one discovered after a week away.
Look for controllers that support push notifications when readings drift outside your set range, not just historical logging you have to check manually. Integration with platforms like SmartThings or Apple HomeKit lets you fold your humidor’s environmental controls into the same dashboard as the rest of your home systems, useful if you already manage HVAC or security remotely.
For collectors running multiple sensor points, as recommended throughout the commissioning process, a centralized monitoring hub that aggregates all readings into one interface beats checking four separate gauges individually. Some systems allow data logging over months or years, which helps you spot slow seasonal drift that a daily glance would miss entirely.
Remote monitoring doesn’t replace physical hygrometers. It supplements them. Digital sensors can fail or drift out of calibration, so cross-check your smart system readings against a calibrated analog or digital hygrometer on a regular schedule. The goal is redundancy, not replacement, since a single point of failure in your monitoring chain defeats the purpose of building a precision environment in the first place.
Maintenance and Cleaning Protocols to Preserve Your Investment
A built-in humidor rewards routine attention and punishes neglect disproportionately. Wipe down shelving and interior surfaces every few months with a barely damp cloth, distilled or RO water only, and let cedar dry naturally rather than forcing it with heat.
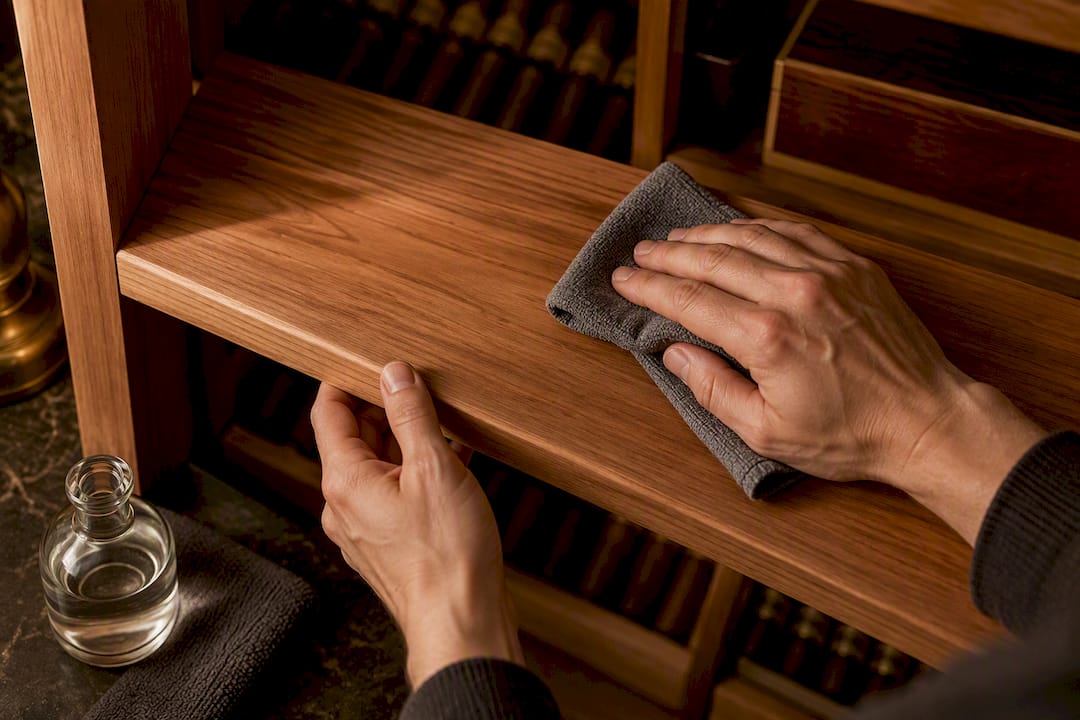
Replace RO filter cartridges on the schedule your system’s manufacturer specifies, typically every six to twelve months depending on usage and local water quality feeding the unit. A neglected filter doesn’t just reduce efficiency; it can reintroduce the mineral deposits RO water was meant to eliminate in the first place.
Calibrate every hygrometer at least twice a year using a salt-test method or a manufacturer calibration kit. Digital sensors drift gradually, and a hygrometer reading 4% off from actual conditions can lead you to make the wrong adjustment at exactly the wrong time.
Inspect door seals, hinges, and locking hardware seasonally, since compression seals compress permanently over years of use and eventually need replacement. Check condensate lines on cooling equipment for buildup or blockage, particularly heading into humid summer months when the system runs hardest.
Finally, rotate and inspect inventory periodically. A maintenance walk-through isn’t just about the room’s mechanical systems, it’s your best chance to catch early signs of beetle activity, mold, or wrapper damage before they spread through a collection.
What Experienced Collectors Get Wrong
Aesthetics get the attention, but environmental engineering protects the value. A gorgeous cedar-lined room with an undersized humidifier and no monitoring will fail its purpose within a season. Balance the visual investment with the mechanical one, and for anything above a modest cabinet, bring in a designer or installer who has actually commissioned rooms like this before.
— Belle Dunn
Bring Your Vision to Dunn’s Bespoke
Dunn’s Bespoke exists for exactly the collectors this article is written for: those who want the engineering right the first time, not fixed after a season of humidity swings. Our white-glove consultation walks through siting, humidification design, and commissioning with the same rigor outlined above, then coordinates delivery and installation so you’re not managing five trades yourself.
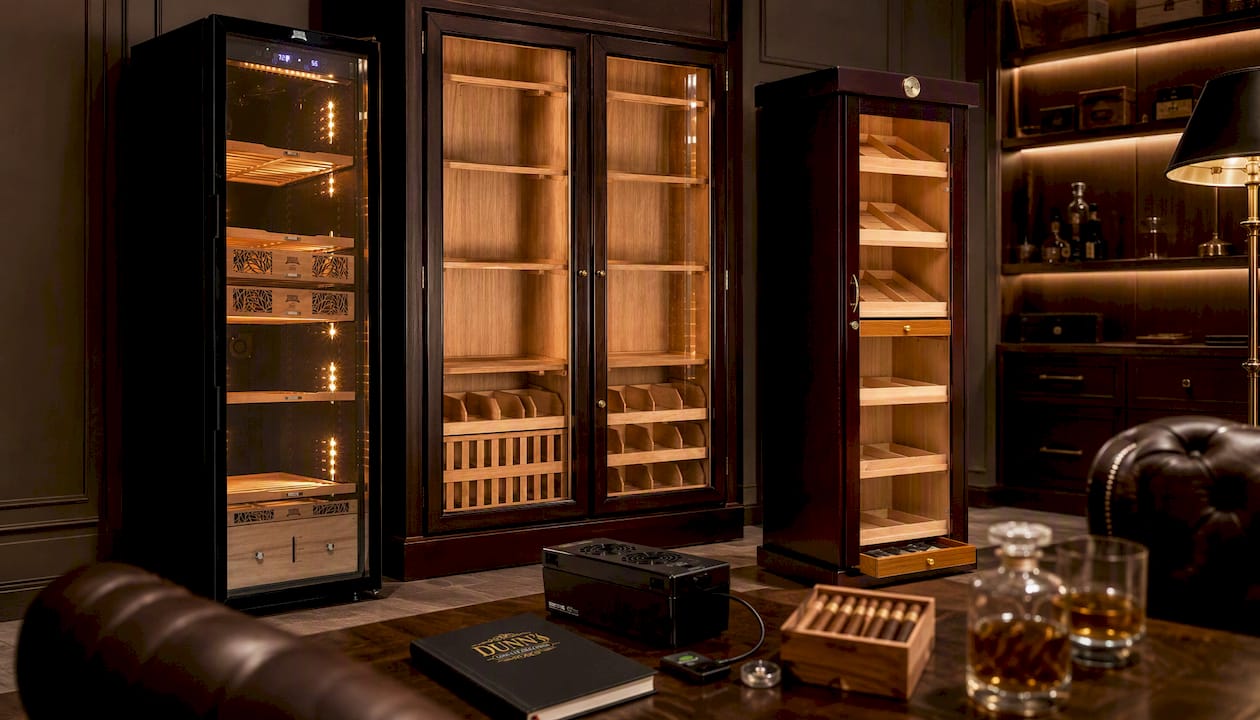
If a full walk-in isn’t the right scope yet, our catalog covers the middle ground well. The Humidor Supreme® Electronic Humidor, 9000 Series Black gives you precision active control in a standalone cabinet, ideal as a bridge solution or a secondary unit alongside a larger build. Retailers and lounges planning a display-forward installation should look at the Humidor Supreme® Commercial Display 4000 Humidor Kit, while collectors wanting refined built-in cabinetry can explore the Barbatus Cabinet Humidors line for finish and hardware that match the durability standards covered here.
Request a design consultation through Dunn’s Bespoke and describe your space. We’ll help you translate the planning steps in this guide into a spec-ready build.
Resources for Planning Your Build
Consult these guides alongside a licensed contractor for code-specific requirements in your area.
- Tobacconist University’s walk-in humidor guide for system-level design principles.
- Cigar Journal’s build series for siting and airflow strategy.
- Sonic Humidifiers’ construction notes for ceiling height and volume guidance.
- Filter United’s water quality analysis for RO plumbing decisions.
- Wood Database’s Spanish cedar profile for material sourcing and properties.
Sources
- How to Build Your Own Walk-In Humidor - Part One | Cigar Journal
- How to Build a Walk-In Humidor | Tobacconist University
- Building a Walk-In Humidor | Sonic Humidifiers
- Spanish cedar | Wood Database
FAQ
Can You Turn Any Cabinet Into a Humidor?
Not reliably. A standard cabinet lacks the vapor barrier, seal quality, and humidification capacity a real humidor needs, so converted cabinets often struggle to hold stable RH. Purpose-built cabinet humidors or a properly lined built-in conversion with active humidification will perform far better than a repurposed piece of furniture.
What Is the “135 Rule” for Cigars?
The standard rule refers to storing cigars near 70°F and 70% relative humidity, sometimes used as a shorthand target. Most builders now recommend a slightly broader band, 65 to 70% RH and 64 to 68°F, for long-term aging stability rather than chasing one exact number.
How Much Does a Humidor Cabinet Cost?
Cabinet humidor costs vary by size, finish, and cooling system, ranging from a few thousand dollars for entry-level electronic cabinets to considerably more for large-format, precision climate-controlled units. Current pricing for specific models is listed on the Cabinet Humidors collection page.
Is 75% Humidity Too High for a Humidor?
Sustained 75% RH runs higher than the recommended 65 to 70% band and raises the risk of mold growth and tobacco beetle activity.
How Long Does a Built-In Humidor Installation Take?
A full build typically moves through design and permitting, rough-in trades, lining and shelving, finish work, and commissioning, often spanning several weeks to a few months depending on scope. Complex walk-ins with dedicated HVAC and RO plumbing sit at the longer end of that range.
What’s the Difference Between Active and Passive Humidification?
Passive systems, gel packs or foam inserts, work fine for small desktop boxes but can’t maintain stable conditions across a built-in or walk-in volume. Active systems use powered humidifiers with distributed airflow and are necessary for any room-sized installation, according to Tobacconist University.
Recommended
You May Also Enjoy
Cigar Locker Dimensions: Sizing Guide for Collectors and Lounges
Cigar locker dimensions explained: compartment sizes, cabinet footprints, capacity math and clearances, so you size a locker bank...
Read Article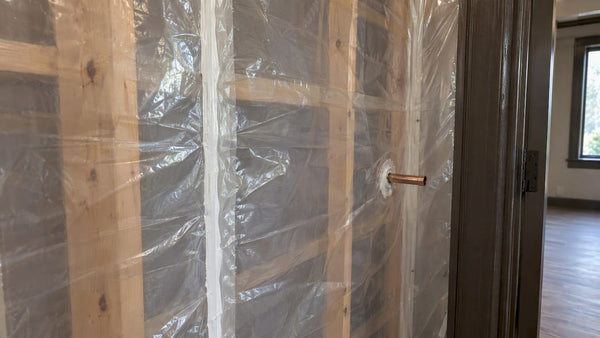
Sealing a Walk-In Humidor: Envelope, Door and Penetrations
How to seal a walk-in humidor properly: vapor barrier placement, door gasket, penetrations and the controlled airflow a...
Read Article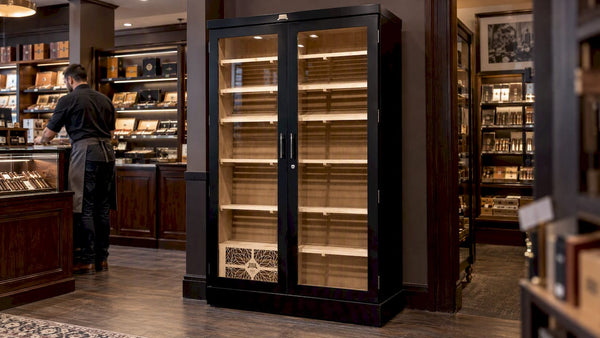
Retail Humidor ROI: How to Measure What a Display Earns
What does a retail or lounge humidor really return? A practical framework for cigar shops, lounges and clubs:...
Read Article